
Fills
Every fill pattern in Ember, shared fill settings, and what each pattern-specific option does.
Fills
When a shape’s stitch type is set to Filled, Ember covers the inside of the shape with a fill pattern. Most fills share a common set of settings; some patterns add their own unique controls on top.
Shared fill settings
These show up for most fill patterns. A few specialized fills (Streamlines, Circular Fill) hide some of them — those exceptions are called out on each pattern below.
Stitch Angle
The direction of the fill rows, in degrees. Use the number input or the dial to rotate the fill. Hidden for Streamlines and Circular Fill.
Row Space
The spacing between fill rows, in millimeters. Smaller values pack the fill tighter; larger values open it up and use less thread. Hidden for Streamlines.
Stitch Length
How long each stitch is along a fill row, in millimeters. Shorter stitches follow curves and edges more carefully; longer stitches cover area faster.
Hand Stitch
A 0–5 slider that adds a hand-stitched look by gently randomizing stitch placement. 0 is perfectly regular; higher values look more organic and imperfect.
Underpath
When enabled, travel between disconnected fill regions stays under the fabric as much as possible instead of leaving visible jump-like travel on top. Hidden for Streamlines.
Gradient
Varies row spacing across the fill so density can ease from tight to open (or the reverse). Hidden for Streamlines and Circular Fill.
When Gradient is on, you’ll also see:
- Mode: Ramp — density changes from a start position to an end position along the fill. Start and End are percentages of the way across the fill; End Row Space is the row spacing (mm) at the end of the ramp.
- Mode: Plateau — density stays denser in a band, then opens up outside it. Center and Width place that band as percentages; End Row Space is the looser spacing outside the plateau.
Underlays
Most fills support one or more underlays stitched before the top fill. Underlays help stabilize fabric and reduce puckering. Hidden for Streamlines and Circular Fill.
Each underlay has:
- Angle — direction of the underlay rows, in degrees (often set perpendicular or offset from the top fill)
- Row — spacing between underlay rows, in millimeters (usually much looser than the top fill)
- Length — stitch length along underlay rows, in millimeters
- Inset — how far the underlay pulls in from the shape edge, in millimeters
Tatami
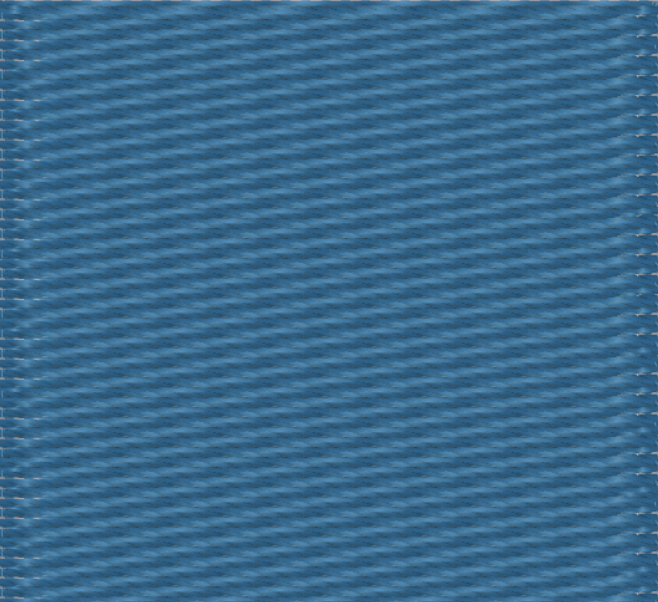
A classic staggered fill. Stitches on neighboring rows are offset so you don’t get a visible brick-wall seam down the fill. No pattern-specific settings — uses the shared fill settings above.
Original
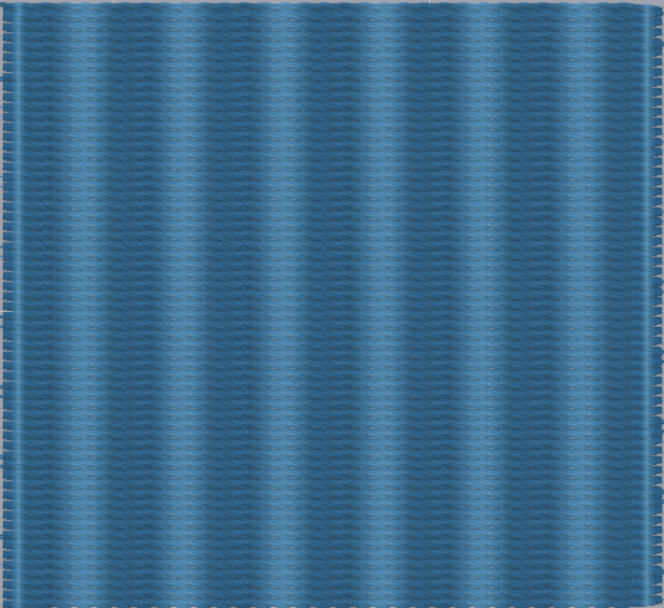
A straightforward fill with aligned rows and no stagger. Clean and predictable; the seams between rows line up more visibly than Tatami. No pattern-specific settings.
Triangle
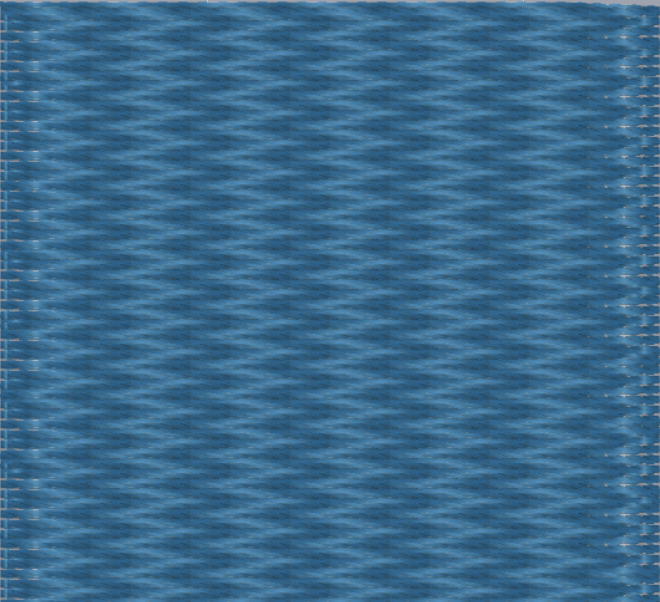
A fill whose row offsets rise and fall in a triangular pattern, giving the surface a subtle chevron / triangle texture. No pattern-specific settings.
Waves
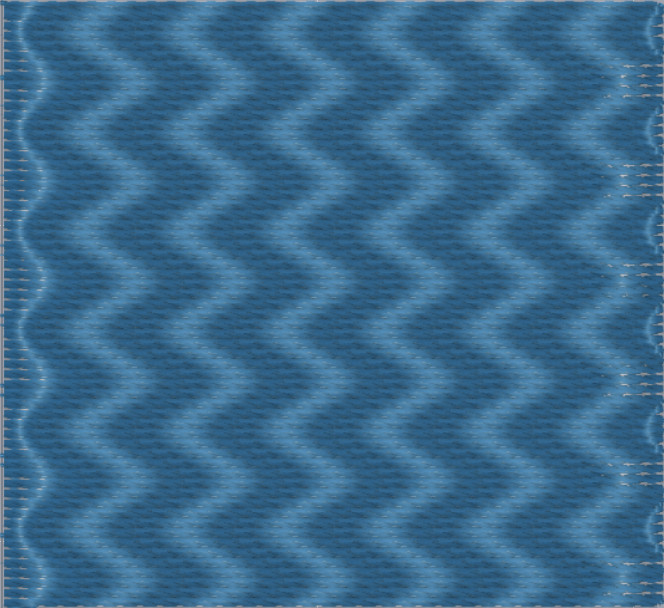
A fill that undulates so the stitch offsets form a wavy texture across the shape.
Unique settings:
Columns
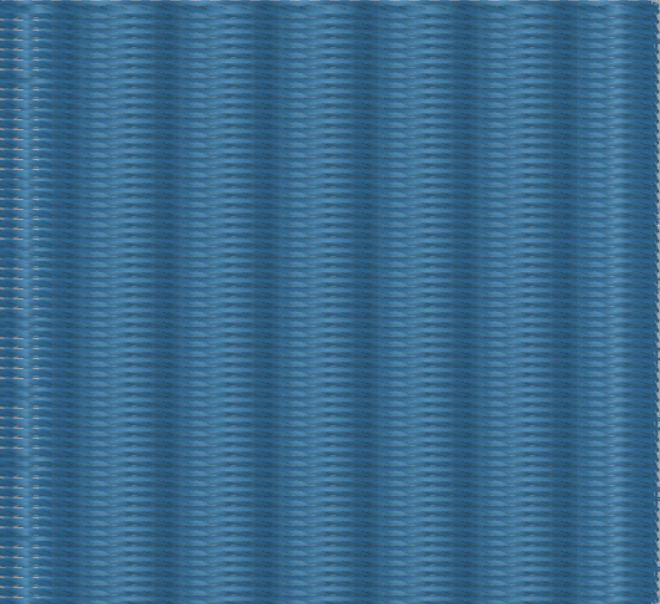
A fill that emphasizes vertical column banding through its row-offset pattern. No pattern-specific settings.
Offset Columns
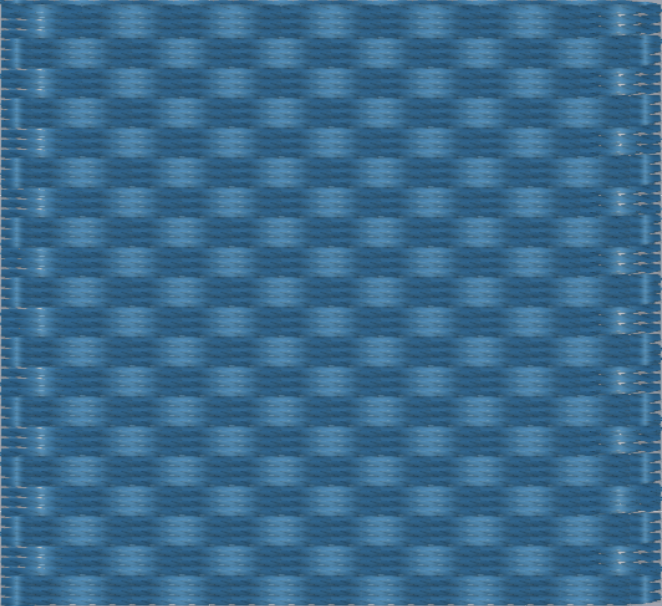
Like Columns, but with a larger offset between column groups for a more pronounced striped / stepped look. No pattern-specific settings.
Hearts (sm)
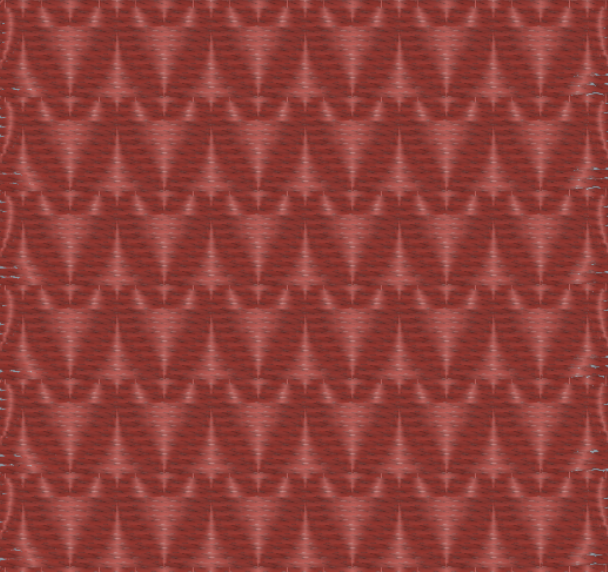
A decorative fill that stamps a repeating small heart motif (about 4 mm) into the stitch pattern. No extra settings beyond the shared fill controls.
Hearts (md)
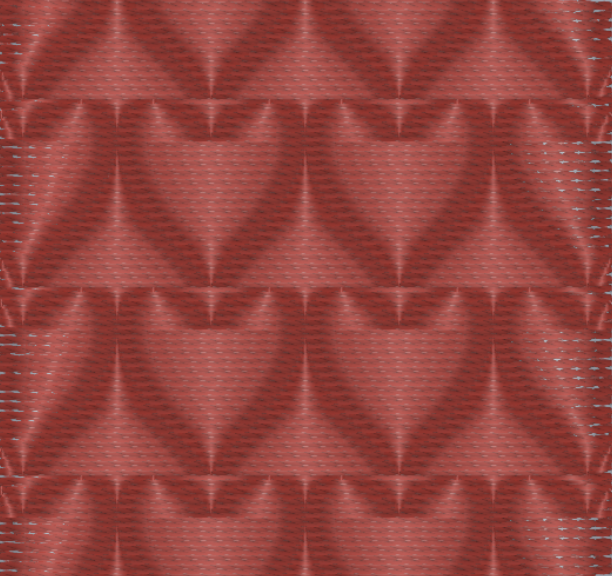
Same as Hearts (sm), with a medium heart motif (about 8 mm). Pick the size that fits your shape.
Hearts (lg)
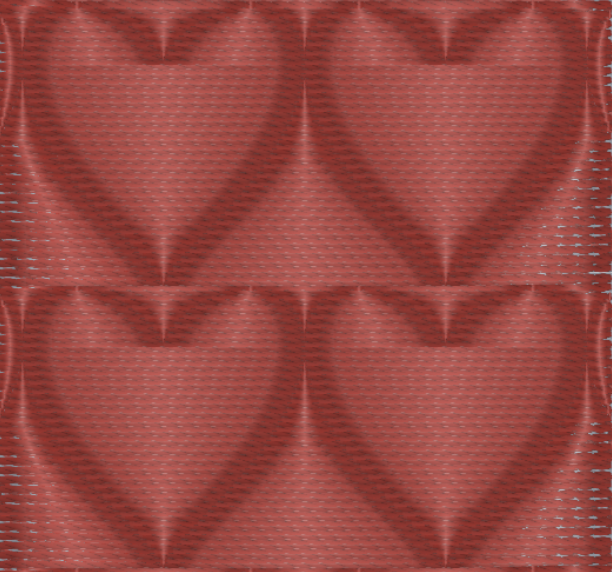
Same as Hearts (sm), with a large heart motif (about 12 mm). Pick the size that fits your shape.
Diamonds (sm)
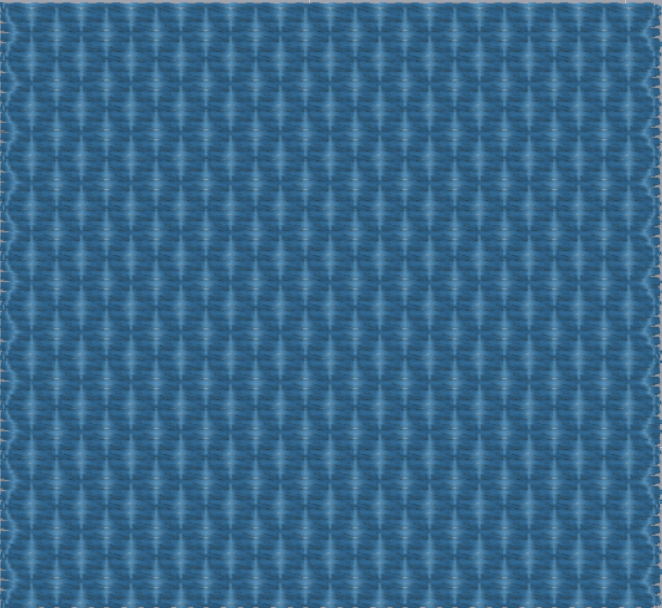
A repeating small diamond motif (about 2 mm wide). No pattern-specific settings.
Diamonds (md)
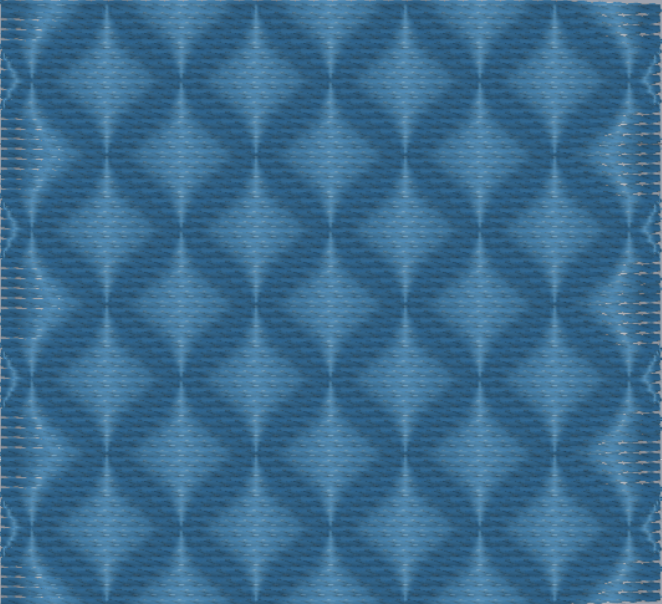
A repeating medium diamond motif (about 6 mm wide). No pattern-specific settings.
Diamonds (lg)
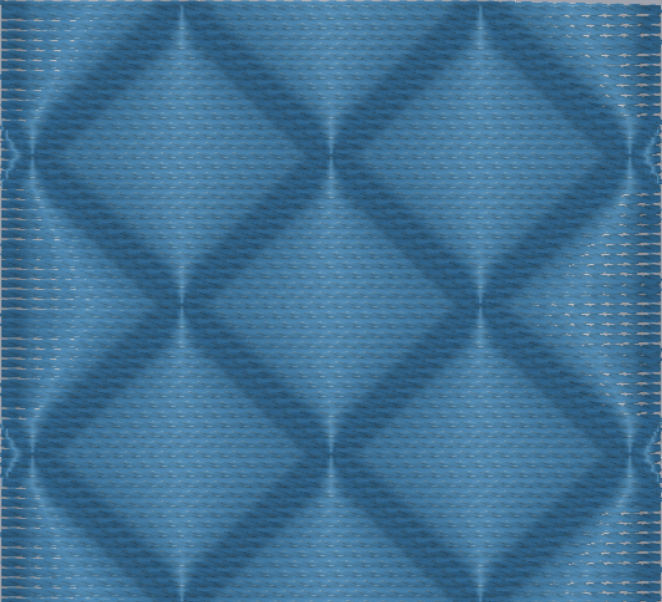
A repeating large diamond motif (about 12 mm wide). No pattern-specific settings.
Zig-Zag
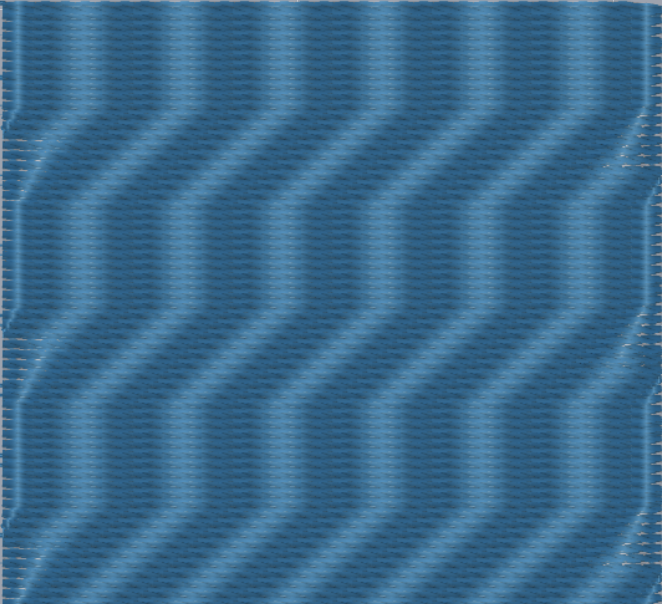
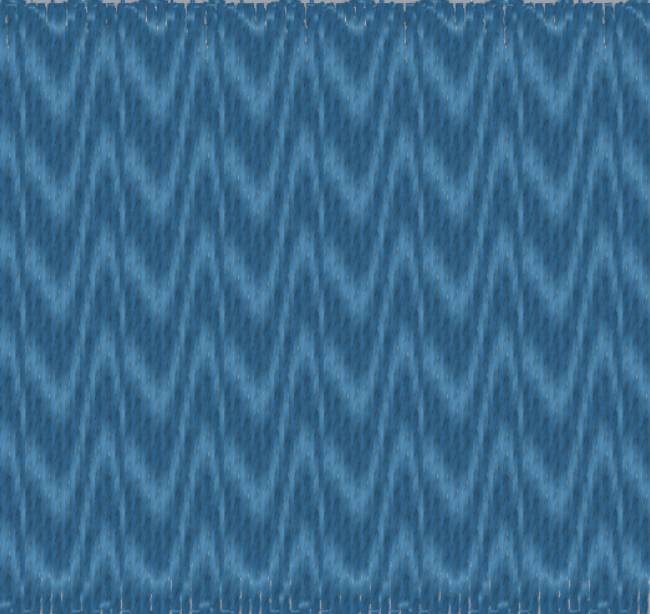
A fill that builds a zigzag / chevron texture from its row offsets. No pattern-specific settings.
Circles (sm)
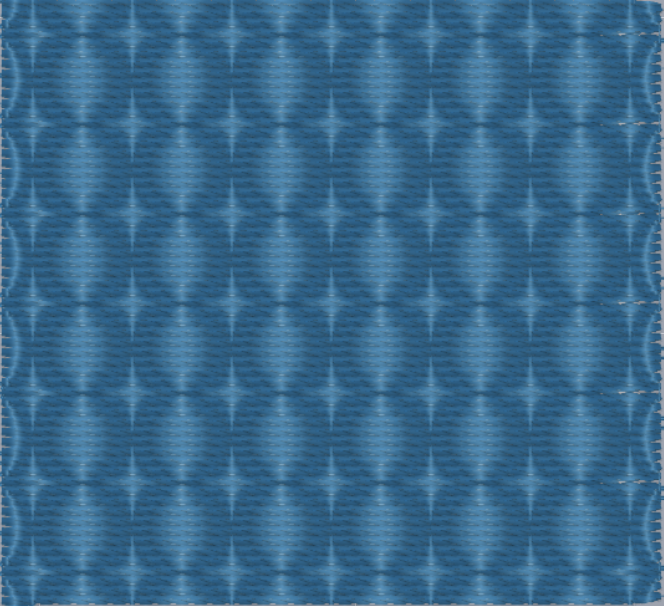
A repeating small circle motif (about 4 mm diameter). No pattern-specific settings.
Circles (md)
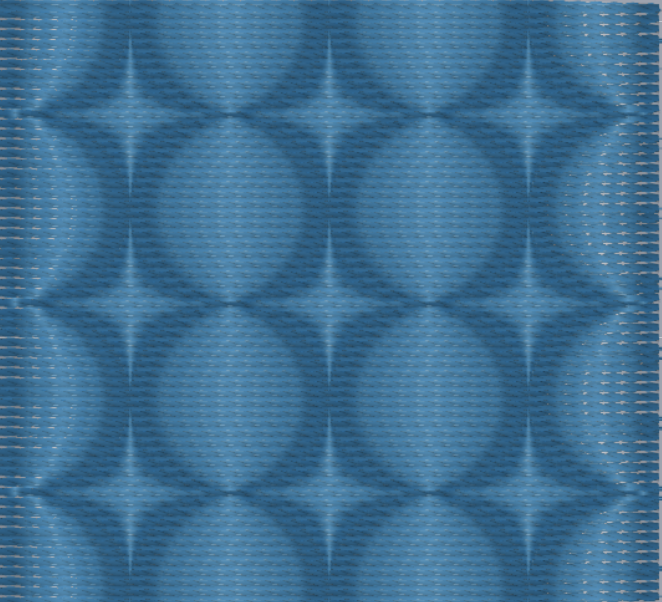
A repeating medium circle motif (about 8 mm diameter). No pattern-specific settings.
Circles (lg)
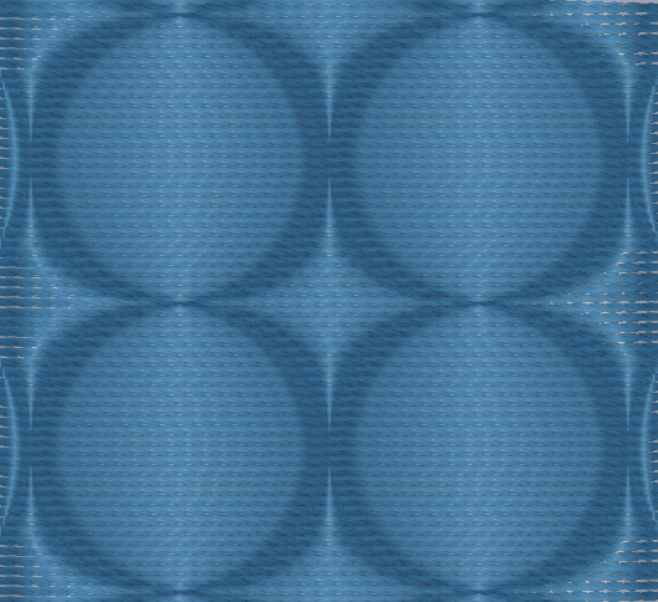
A repeating large circle motif (about 12 mm diameter). No pattern-specific settings.
Heartbeat
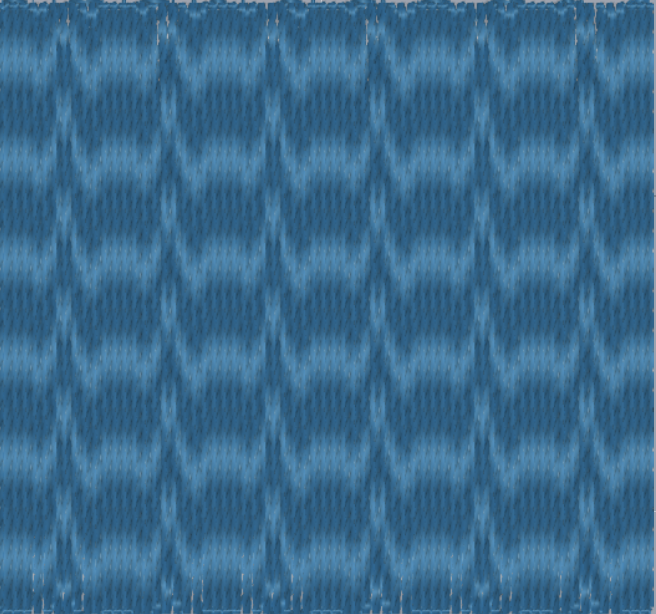
A fill whose offsets follow an ECG-style heartbeat waveform — flat baseline, spike, recovery — repeating across the shape.
Unique settings:
Intensity
How tall the heartbeat spikes are. Higher intensity makes a more dramatic waveform.
Spiral
Staircase
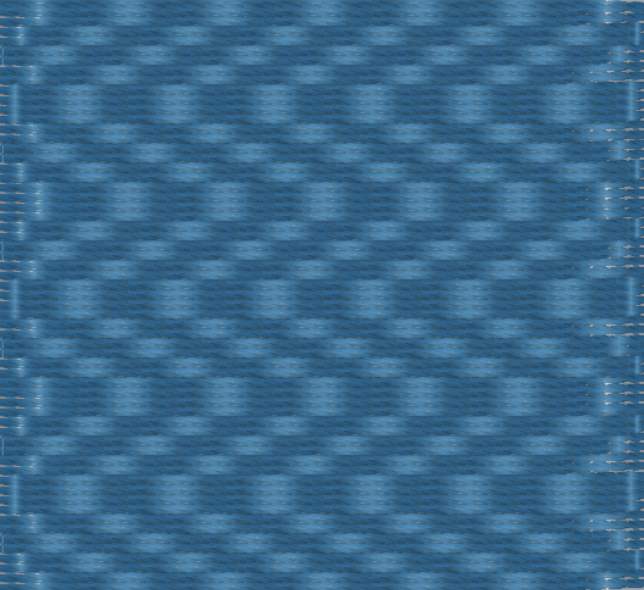
A fill that steps up and down in flat “treads,” like a staircase profile across the rows.
Unique settings:
Step Height
How tall each stair step is. Higher values make chunkier stairs.
Steps
How many steps are in each flight before the pattern turns around and comes back down.
Rainfall
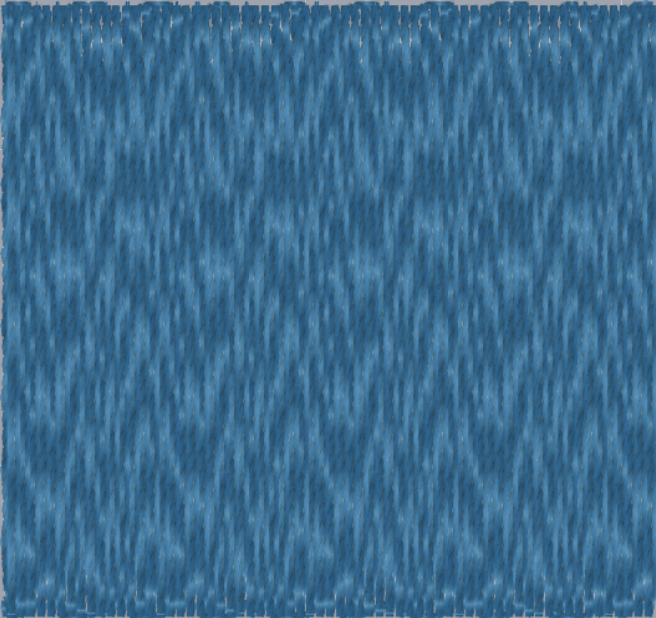
A scattered, organic fill that looks like raindrops hitting a surface — irregular offsets and slightly varied stitch lengths.
Unique settings:
Hexweave
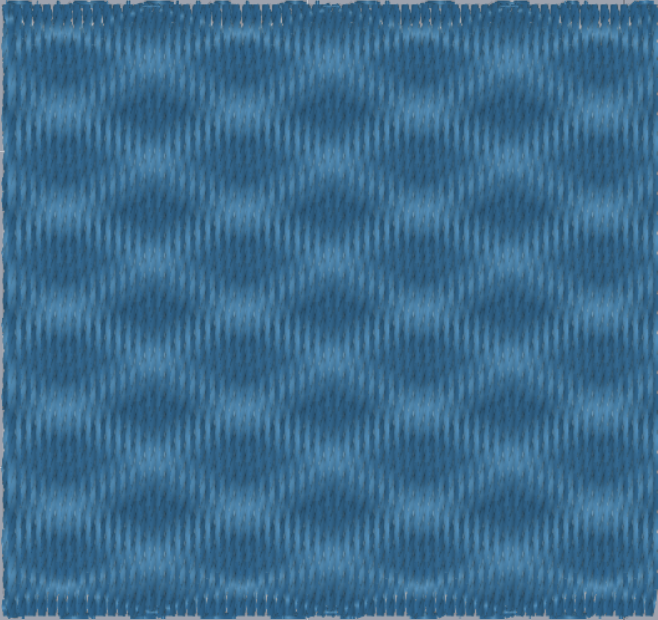
A fill that builds interlocking hexagonal cells for a woven honeycomb look.
Unique settings:
Cell Size
The size of each hexagonal cell, in millimeters. Larger cells make a coarser hex grid; smaller cells pack tighter.
Tornado
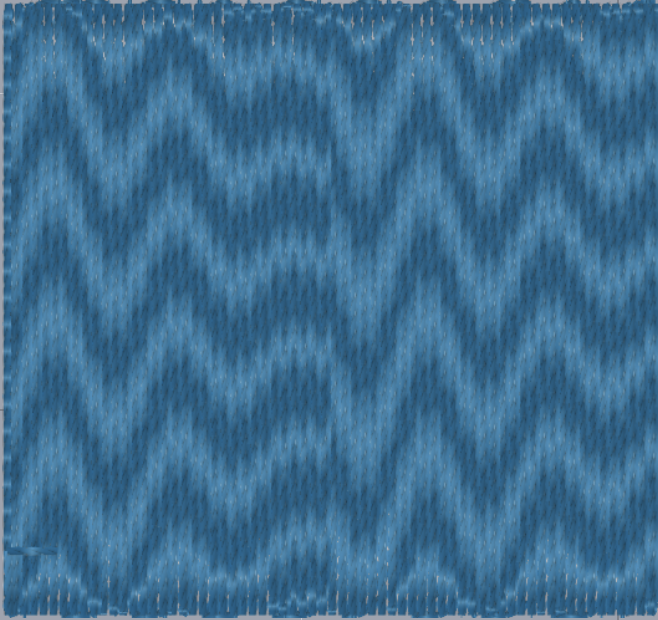
Streamlines
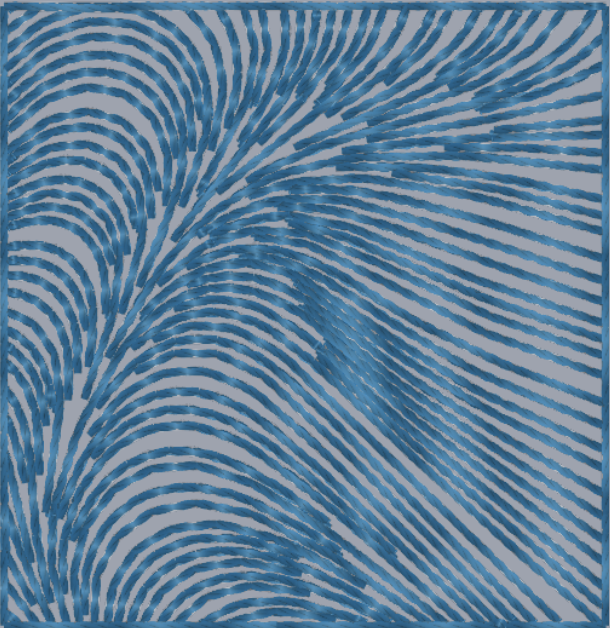
A specialized fill that follows guide curves you place on the canvas, so stitches flow like streamlines around a shape instead of marching in straight rows.
Streamlines hide Stitch Angle, Row Space, Underpath, Gradient, and Underlays. It still uses shared Stitch Length.
To set or change the flow direction, select the shape and use Edit flow field on the shape actions toolbar. That opens the guide curves on the canvas so you can reshape how the stitches flow through the fill.
Unique settings:
Separation
How far apart neighboring streamlines are, in millimeters. Smaller separation = denser coverage.
Circular Fill
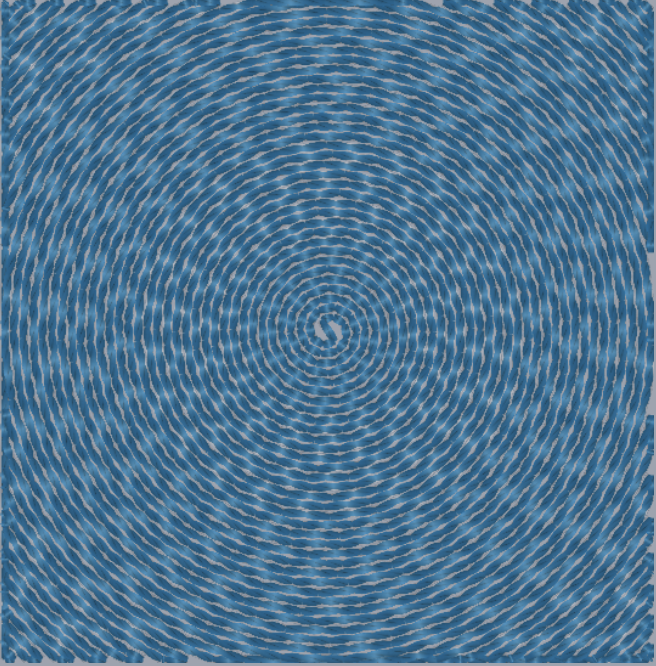
A fill that stitches in concentric rings around a center point — great for circles, badges, and anything that should radiate from the middle.
Circular Fill hides Stitch Angle, Gradient, and Underlays. It still uses Row Space, Stitch Length, and Underpath.
To move the fill’s center point, select the shape and enter Reshape from the shape actions toolbar — you’ll see a handle you can drag to reposition the center.